
自助托管 Jitsi 服务器后,很快就需要添加多个 videobridges 来支持负载,本文介绍如何手动添加多个videobridges。了解这一点有助于编写 ansible playbook,实现这一过程的自动化。

前提条件
- 能够在 DigitalOcean 上创建和配置 Droplet。
- 按照自托管指南设置 Jitsi 服务器。
- 配置一个用于托管 Jitsi 服务器的子域。本文演示时使用 meet.kofimupati.com(在阅读文章时,我已经关闭了服务器)
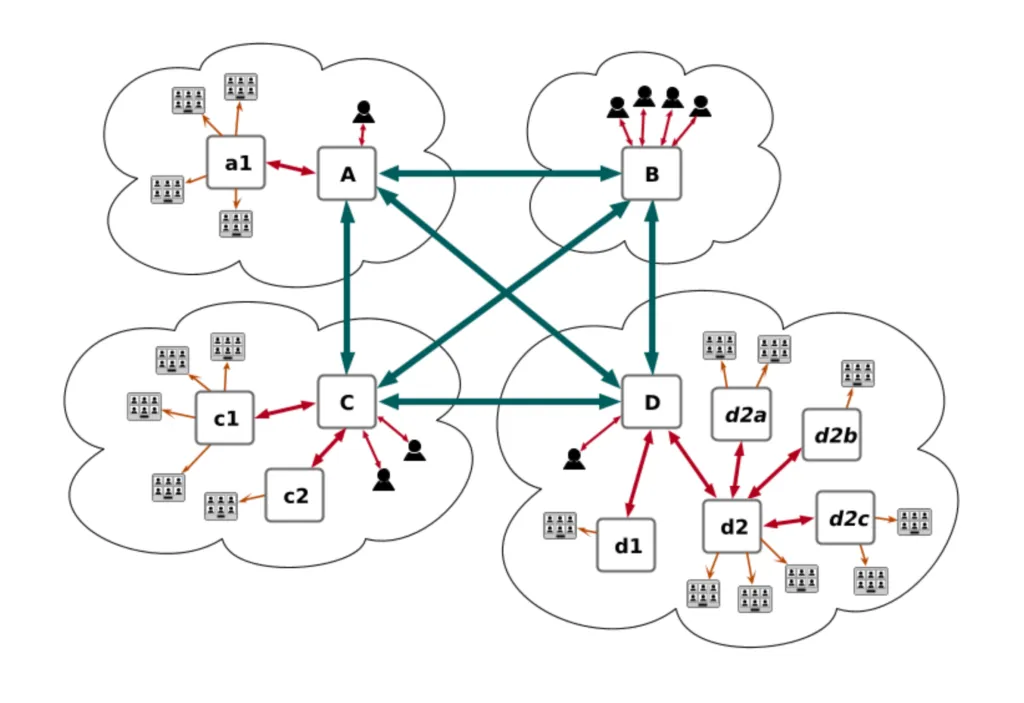
我们将创建并配置 2 个额外的 video bridge服务器:jvb1 和 jvb2,然后将它们连接到现有的 Jitsi 服务器。
更新 Jitsi 服务器配置
修改连接到 Jitsi 服务器的 Videobridge
Jitsi Videobridge 是一款兼容 WebRTC 的视频路由器或 SFU,可用于构建高度可扩展的视频会议基础架构(即每台服务器最多可支持数百个会议)
同时允许以下端口:
9090/TCP
9090/UDP
5222/TCP
5222/UDP- 更新配置:
/etc/jitsi/videobridge/config
-- JVB_HOST=
++ JVB_HOST=meet.kofimupati.com
++ JVB_OPTS="--apis=rest,xmpp --subdomain=jitsi-videobridge"
++ AUTHBIND=yes- 更新 jvb.conf:
/etc/jitsi/videobridge/jvb.conf
xmpp-client.configs.xmpp-server-1 值可在默认的 /etc/jitsi/videobridge/sip-communicator.properties 中找到。
定义 relay 下的 region 和 relay-id 是为了区分级联视频桥设置中的每个 videobridge。
videobridge {
  stats {
    enabled = true
    transports = [
      { type = "muc" }
    ]
  }

  apis {
    rest {
      enabled = true
    }
    xmpp-client {
      configs {
        xmpp-server-1 {
        hostname="meet.kofimupati.com"
        domain = "auth.meet.kofimupati.com"
        username = "jvb"
        password = "18YlmYSH"
        muc_jids = "JvbBrewery@internal.auth.kofimupati.com"
        muc_nickname = "08a74380-a3d3-4763-adf4-545c55743b3e"
      }
    }
   }
  }

  cc {
    max-time-between-calculations = 5 seconds
    bwe-change-threshold = 0.1
    padding-period = 10ms
    jvb-last-n = -1
    trust-bwe = false
  }

  http-servers {
    public {
    port = 9090
   }
 }

  websockets {
    enabled = true
    domain = "meet.kofimupati.com:443"
    tls = true
  }

  relay {
    enabled=true
    region="region1"
    relay-id="jitsi-videobridge"
  }

}
注意:目前已不再使用 sip-communicator.properties。
- 更新 sip-communicator.properties: /etc/jitsi/videobridge/sip-communicator.properties
org.ice4j.ice.harvest.DISABLE_AWS_HARVESTER=true
org.ice4j.ice.harvest.STUN_MAPPING_HARVESTER_ADDRESSES=meet-jit-si-turnrelay.jitsi.net:443

++org.ice4j.ice.harvest.NAT_HARVESTER_LOCAL_ADDRESS=10.106.0.3 #Private IP of the Server
++org.ice4j.ice.harvest.NAT_HARVESTER_PUBLIC_ADDRESS=178.62.18.4. #Public IP of the Server

org.jitsi.videobridge.ENABLE_STATISTICS=true

--org.jitsi.videobridge.STATISTICS_TRANSPORT=muc
++org.jitsi.videobridge.STATISTICS_TRANSPORT=muc,colibri

++org.jitsi.videobridge.STATISTICS_INTERVAL=2000

--org.jitsi.videobridge.xmpp.user.shard.HOSTNAME=localhost
++org.jitsi.videobridge.xmpp.user.shard.HOSTNAME=meet.kofimupati.com

org.jitsi.videobridge.xmpp.user.shard.DOMAIN=auth.meet.kofimupati.com
org.jitsi.videobridge.xmpp.user.shard.USERNAME=jvb
org.jitsi.videobridge.xmpp.user.shard.PASSWORD=18YlmYSH
org.jitsi.videobridge.xmpp.user.shard.MUC_JIDS=JvbBrewery@internal.auth.meet.virtualcp.app
org.jitsi.videobridge.xmpp.user.shard.MUC_NICKNAME=be350741-2b3d-4829-95ee-a60c4fbae28b

++org.jitsi.videobridge.SINGLE_PORT_HARVESTER_PORT=10000
++org.jitsi.videobridge.TCP_HARVESTER_PORT=443
++org.jitsi.videobridge.octo.BIND_ADDRESS=10.106.0.3 #Private IP of the Server
++org.jitsi.videobridge.octo.PUBLIC_ADDRESS=178.62.18.4 #Public IP of the Server
++org.jitsi.videobridge.octo.BIND_PORT=4096
+++org.jitsi.videobridge.REGION=region1
修改 Jitsi 服务器上的 Jicofo 配置
它负责管理每个与会者与视频桥接器之间的媒体会话,链接到存储库
- 更新配置: /etc/jitsi/jicofo/config
--JICOFO_HOST=localhost
++JICOFO_HOST=meet.kofimupati.com- 更新 jicofo.conf: /etc/jitsi/jicofo/jicofo.conf
selection-strategy(选择策略): 用于定义如何将通话中的 “参与者 “分配到 videobridges。
octo: 启用 octo 后,Jicofo 会将单个会议中的 “与会者 “分配到多个 videobridges 上。
jicofo {
  xmpp: {
    client: {
    client-proxy: focus.meet.kofimupati.com
   }
    trusted-domains: [ "recorder.meet.kofimupati.com" ]
  }

  bridge {
    brewery-jid: "JvbBrewery@internal.auth.meet.kofimupati.com"
    selection-strategy = SplitBridgeSelectionStrategy
  }

  octo {
    enabled = true
    id = "1"
  }
}
修改 Jitsi 服务器上的 Jicofo 配置
配置 app-config.js,即 /etc/jitsi/meet/meet.kofimupati.com-config.js,以启用 WebSocket 和使用案例所需的任何配置。
您可能不需要这样做。
--// websocket: 'wss://meet.kofimupati.com/' + subdir + 'xmpp-websocket',
++websocket: 'wss://meet.kofimupati.com/' + subdir + 'xmpp-websocket',

// Add the following line just before the section which begins with the comment // UI
openBridgeChannel: 'websocket',
修改 Jitsi 服务器上的 Prosody 配置
Prosody 是 Jitsi 的 XMPP 组件,负责处理消息传递。
我们还启用了 WebSocket 通信,而不是 BOSH,后者在新安装时是默认的。
在 /etc/prosody/prosody.cfg.lua 中添加以下内容,启用端口并允许所有 IP 到达 prosody 服务器
admin = {}
component_ports = { 5347 }
component_interface = "0.0.0.0"

--use_libevent = true
use_libevent = true

-- Uncomment websocket under HTTP modules
--"websocket"
"websocket"

-- Comment out VirtualHost "localhost" under the Virtual hosts section

VirtualHost "localhost"
--VirtualHost "localhost"
通过修改 /etc/prosody/conf.d/meet.virtualcp.app.cfg.lua 配置特定域的 prosody 设置
-- Add the following to allow the use of websocket with the low-level library.
cross_domain_bosh = false;
consider_bosh_secure = true;
cross_domain_websocket = true;
consider_websocket_secure = true;


-- Add smacks and websocket to modules enabled and configurations for smacks
modules_enables = {
  "smacks";
  "websocket";
}

smacks_max_unacked_stanzas = 5;
smacks_hibernation_time = 60;
smacks_max_hibernated_sessions = 1;
smacks_max_old_sessions = 1;
修改 Jitsi 服务器上的 Nginx 配置
添加以下内容,以启用稍后配置的外部视频桥之间的 WebSocket 连接。级联 videobridges 需要使用以下 nginx 位置块。
将它们添加到 location ~ ^/colibri-ws/default-id/(.*) 块之后。
location ~ ^/colibri-ws/([0-9.]*)/(.*) {
  proxy_pass http://$1:9090/colibri-ws/$1/$2$is_args$args;
  proxy_http_version 1.1;
  proxy_set_header Upgrade $http_upgrade;
  proxy_set_header Connection "upgrade";
  tcp_nodelay on;
}

# colibri secure-octo relay websockets for jvb1

location ~ ^/colibri-relay-ws/default-id/(.*) {
  proxy_pass http://jvb1/colibri-relay-ws/default-id/$1$is_args$args;
  proxy_http_version 1.1;
  proxy_set_header Upgrade $http_upgrade;
  proxy_set_header Connection "upgrade";
  tcp_nodelay on;
}


location ~ ^/colibri-relay-ws/([0-9.]*)/(.*) {
  proxy_pass http://$1:9090/colibri-relay-ws/$1/$2$is_args$args;
  proxy_http_version 1.1;
  proxy_set_header Upgrade $http_upgrade;
  proxy_set_header Connection "upgrade";
  proxy_set_header Host meet.virtualcp.app;
  tcp_nodelay on;
}
配置外部 VideoBridge
1. 在每个外部 JVB 上只安装 jitsi-videobridge2 组件。
# add jitsi package repository
curl -sL https://download.jitsi.org/jitsi-key.gpg.key | sudo sh -c 'gpg --dearmor > /usr/share/keyrings/jitsi-keyring.gpg'
echo "deb [signed-by=/usr/share/keyrings/jitsi-keyring.gpg] https://download.jitsi.org stable/" | sudo tee /etc/apt/sources.list.d/jitsi-stable.list

sudo apt install jitsi-videobridge2
2. 在安装过程中,在出现的提示中输入 Jitsi Server 的域,在我的例子中是meet.kofimupati.com 。
3. 允许访问防火墙上的以下端口。
ufw allow 9090/tcp
ufw allow 9090/udp
ufw allow 5347/tcp
ufw allow 5347/udp
ufw allow 5222/tcp
ufw allow 5222/udp
ufw allow 10000/tcp
ufw allow 10000/udp
ufw allow 4096/tcp
ufw allow 4096/udp
ufw enable
4. 配置VideoBridge
用 Jitsi 服务器上的配置替换外部 VideoBridge 上的 jvb.conf、sip-communicator.properties 和 config。
以 jvb1 为例:
对 /etc/jitsi/videobridge/config 的更改
主 video bridges 和外部 video bridges 的 JVB_SECRET 值应相同。
JVB_HOST=
JVB_SECRET=18YlmYSH
JVB_OPTS="--apis=rest,xmpp --subdomain=jvb1"
更改 /etc/jitsi/videobridge/jvb.conf :
- 将 disable_certificate_verification = true 添加到 xmpp-client.configs.xmpp-server-1
- 用当前配置的外部 videobridge(jvb1)的 sip-communicator.properties 中的值设置 muc_nickname。
- 为每个外部videobridge设置不同的区域和中继标识。
- 仅在外部videobridge的 WebSocket 块中添加 server-id 选项。该值应为videobridge服务器的公共 IP。
videobridge {
  stats {
    enabled = true
    transports = [
      { type = "muc" }
    ]
  }

  apis {
    rest {
      enabled = true
    }
    xmpp-client {
      configs {
        xmpp-server-1 {
        hostname="meet.kofimupati.com"
        domain = "auth.meet.kofimupati.com"
        username = "jvb"
        password = "18YlmYSH"
        muc_jids = "JvbBrewery@internal.auth.kofimupati.com"
        muc_nickname = "44643c18-e111-4bfc-9fcc-29f57bb415d8"
        disable_certificate_verification = true
      }
    }
   }
  }

  cc {
    max-time-between-calculations = 5 seconds
    bwe-change-threshold = 0.1
    padding-period = 10ms
    jvb-last-n = -1
    trust-bwe = false
  }

  http-servers {
    public {
    port = 9090
   }
 }

  websockets {
    server-id = "203.500.130.37"
    enabled = true
    domain = "meet.kofimupati.com:443"
    tls = true
  }

  relay {
    enabled=true
    region="region2"
    relay-id="jvb1"
  }

}注意:目前已不再使用 sip-communicator.properties。
对 /etc/jitsi/videobridge/sip-communicator.properties 的更改:
--org.jitsi.videobridge.xmpp.user.shard
++org.jitsi.videobridge.xmpp.user.jvb1
org.ice4j.ice.harvest.DISABLE_AWS_HARVESTER=true
org.ice4j.ice.harvest.STUN_MAPPING_HARVESTER_ADDRESSES=meet-jit-si-turnrelay.jitsi.net:443
++org.ice4j.ice.harvest.NAT_HARVESTER_LOCAL_ADDRESS=10.106.0.3 #Private IP of the jvb1
++org.ice4j.ice.harvest.NAT_HARVESTER_PUBLIC_ADDRESS=178.62.18.4. #Public IP of the jvb1
org.jitsi.videobridge.ENABLE_STATISTICS=true
--org.jitsi.videobridge.STATISTICS_TRANSPORT=muc
++org.jitsi.videobridge.STATISTICS_TRANSPORT=muc,colibri
++org.jitsi.videobridge.STATISTICS_INTERVAL=2000
--org.jitsi.videobridge.xmpp.user.shard.HOSTNAME=localhost
++org.jitsi.videobridge.xmpp.user.shard.HOSTNAME=meet.kofimupati.com
org.jitsi.videobridge.xmpp.user.jvb1.DOMAIN=auth.meet.kofimupati.com
org.jitsi.videobridge.xmpp.user.jvb1.USERNAME=jvb
org.jitsi.videobridge.xmpp.user.jvb1.PASSWORD=18YlmYSH
org.jitsi.videobridge.xmpp.user.jvb1.MUC_JIDS=JvbBrewery@internal.auth.meet.virtualcp.app
org.jitsi.videobridge.xmpp.user.jvb1.MUC_NICKNAME=44643c18-e111-4bfc-9fcc-29f57bb415d8
++org.jitsi.videobridge.xmpp.user.jvb1.DISABLE_CERTIFICATE_VERIFICATION=true
++org.jitsi.videobridge.SINGLE_PORT_HARVESTER_PORT=10000
++org.jitsi.videobridge.TCP_HARVESTER_PORT=443
++org.jitsi.videobridge.octo.BIND_ADDRESS=10.106.0.3 #Private IP of the jvb1
++org.jitsi.videobridge.octo.PUBLIC_ADDRESS=178.62.18.4 #Public IP of the jvb1
++org.jitsi.videobridge.octo.BIND_PORT=4096
+++org.jitsi.videobridge.REGION=region2为要使用的所有videobridges重复上述外部 video bridge 配置步骤。
结论
Jitsi 是一款开源视频会议解决方案,可满足您的大部分需求。您可以自行托管并使用 lib-meet-jitsi 来构建你想要的体验。
作者:Kofi Obrasi Ocran
本文来自作者投稿,版权归原作者所有。如需转载,请注明出处:https://www.nxrte.com/jishu/webrtc/37449.html